
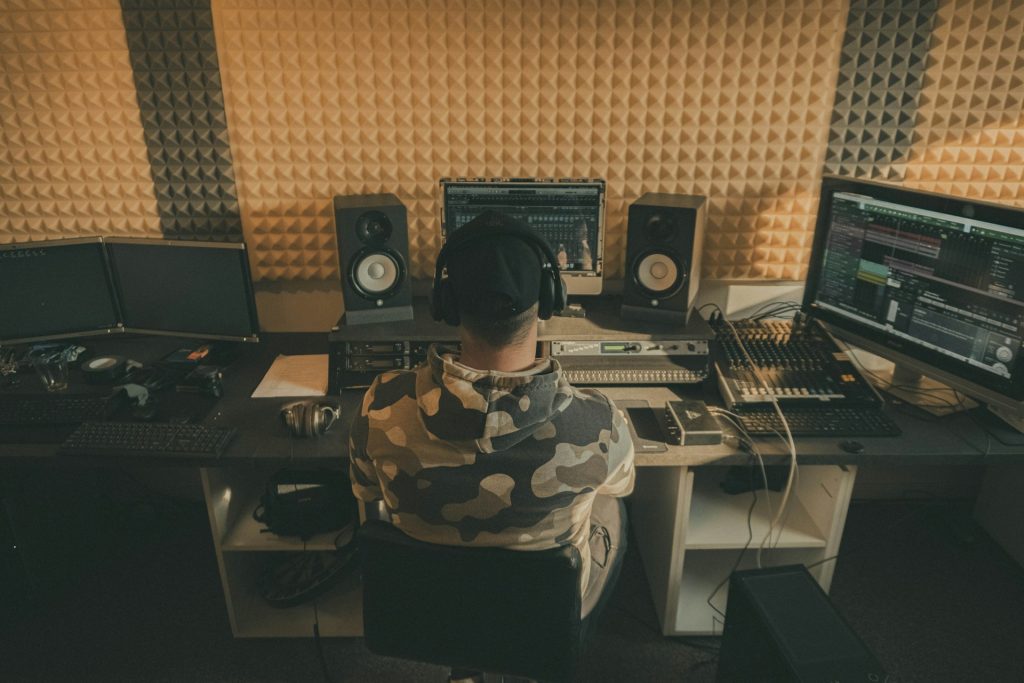
Clear speech starts with a room that keeps reflections under control. In a busy content studio, bare floors, glass partitions and large desks can send sound back towards the microphone, leaving voices hollow or distant. Foot traffic and moving equipment add another layer of noise.
You don’t need to rebuild the studio to improve it. A few targeted changes to floors, walls and recording positions can produce cleaner dialogue, reduce editing time and make the space more comfortable for everyone using it.
Why Hard Surfaces Ruin Audio Clarity
Sound energy reflects from hard surfaces such as concrete, glass and plasterboard. When those reflections reach a microphone shortly after the direct voice, they blur consonants and give speech a boxy quality. Parallel walls can also create a rapid, metallic-sounding flutter echo.
Clap once in the room and listen for a ringing tail. Repeat the test near corners, windows and empty walls to find the worst areas. Using sound-absorbing materials to control reflections can help reduce the echoes that make recorded speech sound less clear.
Treatment works best when spread across several surfaces. One heavily covered wall may still leave echoes bouncing between the floor and ceiling, so think about the room as a complete space.
Tackling Footstep and Impact Echo
Footsteps, rolling chairs and equipment cases create structure-borne noise that microphones can easily capture. These impacts travel through rigid flooring and may remain audible even when the person causing them is several metres from the recording position.
For commercial studios, high quality carpet tiles provide a practical option for busy areas because individual sections can be replaced if they become stained or worn. Commercial-grade products are also designed for offices, schools and leisure facilities where durability matters.
Add rubber pads beneath tripod feet, monitor stands and movable furniture. Soft castors can reduce chair noise, while a clearly marked quiet route helps people avoid crossing close to live microphones during recording.
Wall Treatments Versus Floor Coverings
Floor coverings absorb footfall and reduce reflections from below, but they can’t solve every acoustic problem. Wall-mounted panels target mid-range and high-frequency reflections that affect speech intelligibility. Their placement matters more than filling every available wall.
Different types of acoustic treatment serve different purposes. Sound absorbers reduce reverberation, diffusers spread reflections more evenly and bass traps help control lower-frequency build-up, so the right combination depends on how the room behaves.
Start with the first reflection points beside and behind the presenter. If the microphone faces a bare wall, place treatment there too. A well-planned recording studio acoustic treatment can help manage reflections and frequency build-up without covering every surface.
Avoid making the room excessively dull. A studio with too much thin, soft material may absorb higher frequencies while leaving low-frequency build-up untouched. Use thicker panels in corners where possible and keep some untreated space so voices continue to sound natural.
Quick Adjustments That Yield Immediate Results
Move the microphone closer to the speaker before buying more equipment. Reducing the distance from 30 centimetres to around 10 or 15 centimetres increases the proportion of direct voice captured, although you may need a pop filter and careful positioning to manage breath sounds.
Turn desks so microphones don’t point towards glass, doors or empty walls. Close curtains, remove rattling objects and place soft furnishings beyond the camera frame. Switching off noisy ventilation for a short take can help, provided the room remains safe and comfortable.
Record a 20-second sample after every adjustment and listen through headphones. Keep the changes that improve consonant clarity and shorten the audible echo. A labelled reference recording will also give the whole production team a reliable baseline when furniture or sets move.
Acoustic control becomes much easier when the studio has a repeatable setup. Mark microphone and chair positions discreetly on the floor, then save a short room-tone recording for editors. Those two details can prevent each session from turning into a fresh round of troubleshooting.