Introduction
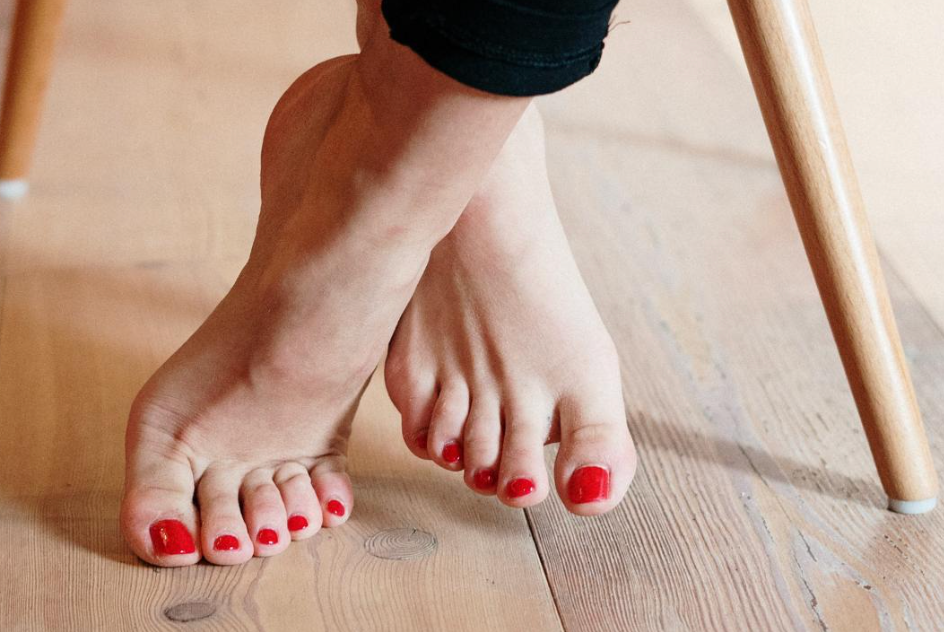
Photography is a versatile art form that allows us to capture the beauty of the world around us. While most photographers focus on landscapes, portraits, or macro shots, there is a niche that delves into the intricate details of the human body – foot photography. This unique genre offers a fresh perspective on an often overlooked subject, showcasing the elegance and complexity of the human foot. In this article, we’ll provide a comprehensive guide on Foot photography tutorials.
Equipment Needed
Before you dive into foot photography, it’s essential to gather the right equipment. Here are the basics you’ll need:
- Camera: A DSLR or mirrorless camera with manual settings will give you the most control over your shots.
- Lens: A macro lens (around 60-100mm) is ideal for capturing intricate details. Alternatively, a standard zoom lens can work if you don’t have a macro lens.
- Tripod: This will help stabilize your shots, especially in low light conditions.
- Lighting: Natural light is great, but consider using a softbox or reflectors to control and enhance lighting conditions.
- Background: A plain, non-distracting backdrop or a seamless paper roll can work well for isolating the foot.
Tutorial 1: Setting up Your Workspace
- Find a quiet, well-lit space with ample natural light or set up your artificial lighting.
- Position your subject comfortably on a chair or stool, ensuring they’re relaxed and at ease.
- Place a neutral background behind the subject to minimize distractions.
Tutorial 2: Focus and Composition
- Use manual focus to ensure precise control over the focus point. Focus on the area you want to highlight, such as the arch or toes.
- Experiment with different angles and compositions. Close-ups and different perspectives can reveal interesting details.
Tutorial 3: Lighting Techniques
- Utilize soft, diffused lighting to minimize harsh shadows and highlight texture.
- Experiment with different lighting setups, such as side lighting to accentuate contours, or backlit shots for a dramatic effect.
Tutorial 4: Posing and Styling
- Guide your subject on posing naturally. Encourage them to relax their foot and toes for a more authentic look.
- Consider using props like flowers, fabric, or jewelry to add visual interest.
Tutorial 5: Editing and Post-Processing
- Use photo editing software like Adobe express, Lightroom or photoshop to enhance your images.
- Adjust exposure, contrast, and color balance to fine-tune your shots. Pay attention to details like skin tone and texture.
Tutorial 6: Experiment with Different Perspectives
- Try various angles and perspectives to capture unique shots. Close-ups of specific areas like the heel or toes can reveal fascinating details.
- Don’t be afraid to get creative. Experiment with depth of field, focus stacking, and other techniques to add depth and dimension to your images.
Conclusion
Foot photography is a captivating niche that offers a fresh perspective on the human body. By following these step-by-step tutorials and experimenting with different techniques, you can master the art of foot photography and capture the intricate beauty of this often overlooked subject. Remember, practice and creativity are key, so don’t be afraid to push boundaries and explore new ideas in your foot photography journey. Happy shooting!
