Most marketing teams do not lack ideas. They lack the hours it takes to turn each idea into a finished video. A product announcement needs a short clip, a webinar needs a teaser, and the social calendar never stops asking for something new. Traditional production solves this with crews, studios, and long editing queues, which is exactly what a small team cannot spare.
Generative tools have changed the math. You can now describe a scene, supply a script, or upload reference material and get moving footage back in minutes. The catch is that speed alone does not produce good work. Teams that treat the tool like a slot machine end up with scattered, off-brand clips that nobody wants to publish.
This article lays out a repeatable workflow you can adopt this week. It covers how to define the message first, write prompts and scripts that give the model clear direction, review output like a rough cut, keep a consistent look across a campaign, and repurpose a single piece into many formats without starting over each time.
Start With the Message, Not the Tool
Before you open any software, write down one sentence that describes what the viewer should know or do after watching. A video that tries to explain a feature, announce a sale, and introduce the team all at once will feel unfocused no matter how polished it looks. A single clear goal gives every later decision a filter.
Once the goal is settled, pick the audience and the channel. A clip for a sales email needs a different pace than a vertical video for a short-form feed. If you plan to use an AI video generator for the first draft, knowing the channel up front also tells you the aspect ratio, the runtime, and how much text should appear on screen.
Write a one-paragraph creative brief
A short brief keeps prompts honest. Include the audience, the single takeaway, the tone, and any visual rules such as brand colors or restricted imagery. Keep it to a paragraph so that anyone on the team can read it in thirty seconds and understand the target. When feedback arrives later, you can check it against the brief instead of arguing over taste.
Gather the assets you already own
Existing logos, product photos, brand fonts, and approved voiceover lines make the output feel like your company rather than a generic template. Collect them in one folder before you begin. It saves repeated uploads and reduces the temptation to improvise visuals that the legal or brand team will later reject.
Write Direction the Model Can Actually Follow
Vague instructions produce vague footage. Compare “a video about our new app” with “a close shot of a person opening a phone on a morning commute, warm light, calm pacing, product screen visible for the last three seconds.” The second version names the subject, the framing, the mood, and the ending beat. Models respond far better to that level of detail.
Structure helps as well. Break the piece into short scenes and describe each one separately rather than packing the whole story into one long prompt. Scenes of a few seconds each are easier to regenerate if one of them misses, and you avoid throwing away good material because a single moment went wrong.
Keep scripts spoken, not written
If your video includes narration, read the script out loud before you submit it. Sentences that look fine on a page often sound stiff when spoken. Shorten them, drop filler, and place the key point early in each line. A useful check is to see whether a colleague can follow the script on a single listen without needing to see the text.
Use a simple prompt checklist
Before generating a scene, confirm that your prompt covers these items:
- Who or what is the subject of the shot
- What the camera is doing and how close it sits
- The lighting and overall mood
- How long the moment should last
- What must not appear, such as extra text or logos
Review Output Like a Rough Cut
The first generation is rarely the final one, and that is fine. Treat each result the way an editor treats raw footage. Watch it once without stopping, note what works, then watch again to catch details such as odd hands, flickering backgrounds, or text that does not read cleanly. Mark timestamps so your next prompt can address specific problems instead of starting from scratch.
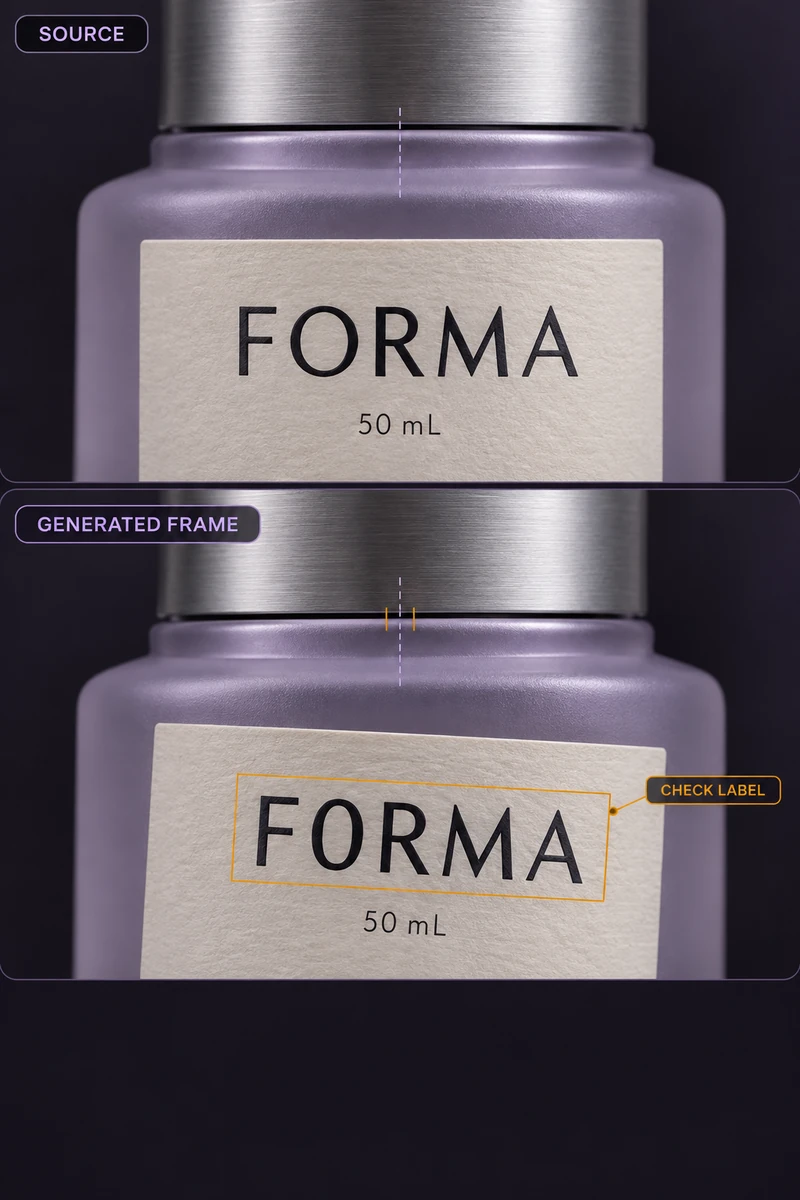
Decide early what counts as a dealbreaker. Distorted faces or garbled product labels should be regenerated every time. Minor differences in background detail may be acceptable for a social clip but not for a homepage hero video. Writing these rules down before review keeps the team consistent and speeds up approvals.
Edit in small passes
Resist the urge to fix everything at once. Trim the clip first, then adjust pacing, then handle captions and audio. Changing several things in one pass makes it hard to tell which adjustment helped. Small, ordered passes also make it easier to hand work between teammates without confusion.
Keep the Look Consistent Across a Campaign
One good video is easy. Ten videos that feel like they belong together take planning. Fix your visual vocabulary early: a limited color palette, a preferred camera style, a handful of recurring settings, and consistent treatment of any characters or products. Reuse the same descriptive phrases in every prompt so the model has the same cues each time.
Platforms built around this need, such as AKOOL, put emphasis on carrying a style from one clip to the next, which matters when a campaign spans a product launch, a tutorial series, and several social cuts. Whatever tool you choose, test consistency early by generating two or three short clips from the same brief and comparing them side by side.
Build a small style guide for video
Your brand guidelines probably cover print and web already. Add a half-page section for motion. Record preferred pacing, how logos appear and exit, the tone of voiceover, and examples of footage you consider on-brand and off-brand. A reference sheet like this lets new teammates and freelancers produce usable work from day one.
Repurpose One Video Into Many
A finished master clip is a starting point, not an endpoint. Cut a long version into short highlights for social channels, pull a still frame for a thumbnail, and trim a ten-second loop for an email header. Each version should have a clear purpose and a call to action that fits the channel instead of a copy of the original with a new crop.
Plan this before production begins. If you know the master will be reused in vertical, square, and wide formats, frame key action near the center and leave breathing room at the edges. Captions deserve attention too, since many viewers watch without sound. Short, high-contrast subtitles keep the message intact in a crowded feed.
Measure and feed results back in
Track which versions get watched to the end and which ones lose viewers in the first few seconds. Use that pattern to adjust your next brief. If viewers drop off during a long introduction, start closer to the point. If a particular visual style earns more engagement, add it to your style guide. Over a few cycles, the workflow becomes faster and the output more reliable.
Build the Habit, Not Just the Clip
Strong AI-assisted video comes from the process around the tool. Start with a single clear message, write direction that names the subject, framing, and mood, review each result like a rough cut, and hold your visual language steady from one clip to the next. Then reuse your best work across formats so every hour spent returns more than one asset.
You do not need to change everything at once. Pick one upcoming project, write the short brief, and run it through these steps. Note what slowed you down and adjust. After a handful of projects, you will have a lightweight system that your whole team can follow, and video will stop feeling like the bottleneck in your content plan.