The Google Pixel 8 and 8 Pro have emerged as cutting-edge smartphones, seamlessly blending innovative features with sleek design. However, even the most advanced phones are not resistant to the occasional mishap, and a cracked or damaged screen can quickly reduce the user experience. In such cases, the prospect of a screen replacement becomes crucial to restore the phone to its optimal functionality and aesthetic appeal.
This article explores all the details of Google Pixel 8 and 8 Pro screen replacement, explaining the process, considerations, and potential benefits of undertaking this repair. Whether faced with accidental damage or seeking an upgrade, understanding the whole screen replacement process for these flagship devices is essential for users looking to maintain their smartphones in peak condition. Carefully look at each step in the guide to replace the screen of your Google Pixel 8 and 8 Pro screen smoothly.
Step 1: Get your Pixel Ready to Take it Apart
Google is different from the other Android smartphone manufacturers these days. Instead of opening up their phones from the back, the Pixel 8 and Pixel 8 Pro get opened up from the front screen side. Usually, this means there is a higher chance of your screen getting damaged this way, but broken screens are also the most common smartphone repairs. So opening the phone will be fine. Before you open the open, ensure to get your Pixel ready for disassembly by following these steps:
- Ensure your Pixel’s battery is below 25% before initiating the repair process. A damaged, charged lithium-ion battery poses a fire risk.
- Disconnect all cables attached to your phone.
- Ensure backing up all crucial data to prevent any loss during the process.
- Purchase an authentic Samsung replacement screen from authorized dealers or reputable online stores, ensuring compatibility with the Google Pixel 8 or 8 Pro model you are repairing.
- Gather essential tools such as prying tools, small screwdrivers, and tweezers to remove the old screen and install the new one safely.
- Remove the sim tray from your Google Pixel 8 and 8 Pro.
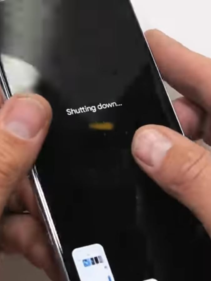
- Turn off your phone entirely.
- Simultaneously press the power and volume up buttons to access the shutdown menu.
Step 2: Heat the Corners of Your Pixel Using Heat Gun
Heating softens the adhesive that secures the phone’s components, helping in safe and effective disassembly. To do this step, carefully direct the heat gun towards the corners of the Pixel, maintaining a consistent but controlled temperature. This gentle heating helps prevent potential damage to the device while ensuring that the adhesive becomes pliable, allowing for easier separation of components during the repair.
Alternatively, You can use a hair dryer, heat gun, or hot plate, but be cautious to prevent potential screen or battery damage due to excessive heat. Exercise care and attention when employing heat sources for this purpose.
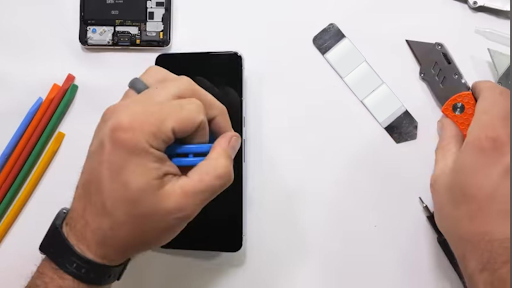
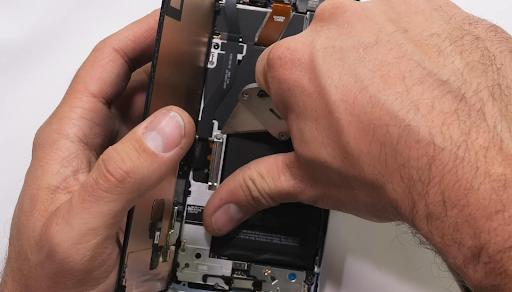
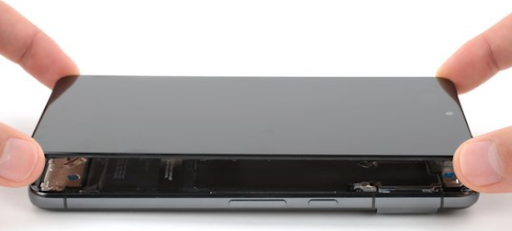
Step 3: Apply Suction Pump and Use Opening Pick
After heating the sides of the screen, apply a suction pump. Pull the suction pump until the suction cups begin to stretch. Allow one minute for a gap to emerge between the screen and frame; then, insert an opening pick or prying tool into the gap, not exceeding 3 mm, to prevent damage to the spring contacts.
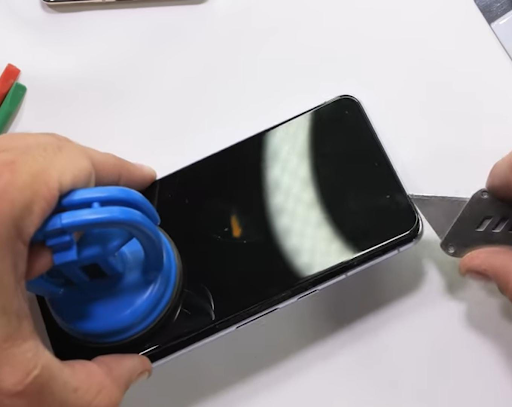
Utilize a metal pry tool to detach the back cover, and consider spraying Isopropyl on the tool to facilitate easier removal of the cover. Be careful in the areas surrounding the phone’s perimeter, as there are numerous spring contacts; avoid any actions that may lead to bending these contacts.
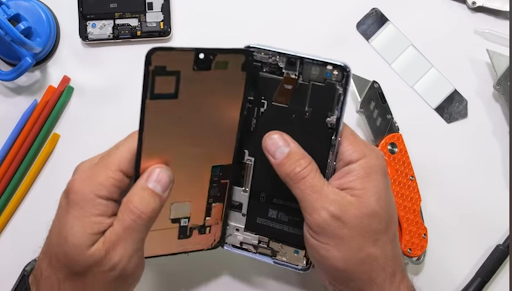
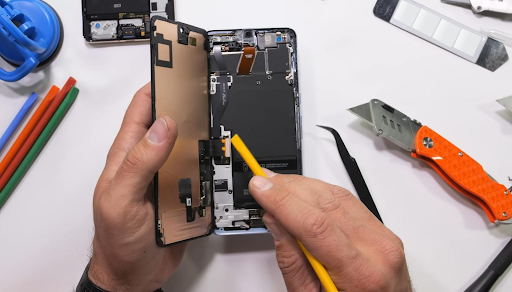
Step 4: Take off the Cover for the Screen Cable.
Employ an opening tool to lift the upper edge of the screen cable cover gently, and then proceed to remove the cover.
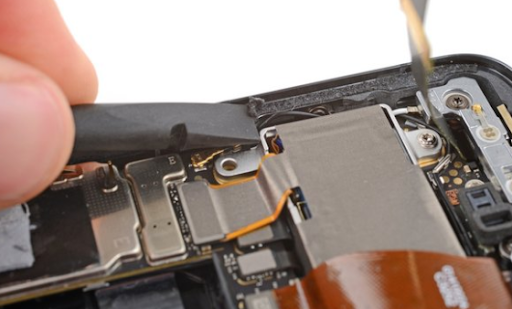
Step 5: Disconnect the Screen
Insert the spudger’s tip beneath the top right corner of the screen’s press connector, carefully pry up, and disconnect the cable. When reconnecting a press connector, align it with the socket, gently press down on one side until it clicks, and then repeat on the other. Avoid pressing down in the middle to prevent potential damage from misalignment. Now your screen can be easily removed.
Step 6: Clear the Frame of Residual Old Adhesive
To ensure effective sealing with the new adhesive, it’s crucial to eliminate all remnants of the old adhesive from the frame. Utilize the flat end of a spudger to scrape off and remove the old adhesive carefully. If faced with difficulty, consider applying a few drops of highly concentrated (greater than 90%) isopropyl alcohol to the adhesive and then proceed with the scraping process.
Step 7: Align the Adhesive
Use B7000 frame adhesive and put it around the corners of your screen. If the adhesive begins to lift with the liner, carefully place it back onto the frame and use the flat end of a spudger to ensure proper adhesion.
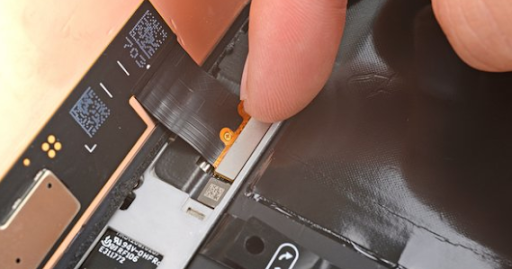
Step 8: Reconnect the Screen
Reconnect the press connector for the screen cable and reinstall the cover for the screen cable.
Step 9: Secure the Screen
Ensure a secure fit by firmly pressing the screen onto the frame, allowing the clips to audibly “pop” into place. Thoroughly press along the screen’s perimeter to firmly affix it with the new adhesive.
Conclusion
In conclusion, replacing the Google Pixel 8 and 8 Pro screens involves careful steps and attention to detail. Each step plays a crucial role in achieving a successful repair, from preparing the device for disassembly to heating the corners, disconnecting the screen, and applying new adhesive.
It’s crucial to use genuine replacement parts. Contact Fixo for the best authentic parts, follow the recommended tools, and maintain caution throughout the process. By adhering to the outlined steps and guidelines, you can maintain your smartphones in peak condition, whether addressing accidental damage or opting for an upgrade. Remember to back up essential data before starting the repair and prioritize safety to ensure a seamless and effective screen replacement for your Google Pixel 8 or 8 Pro.